Installation Considerations
WHAT TO LOOK FOR IN TEAK DECK INSTALLS OR REPLACEMENTS
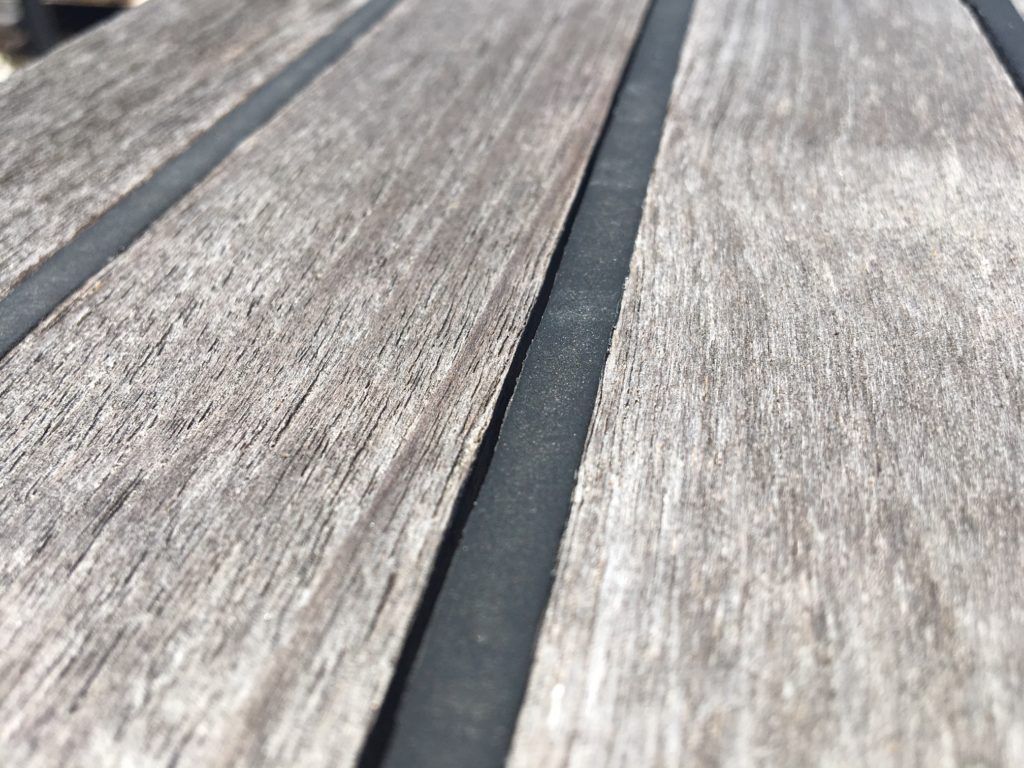
Your beautiful teak deck is showing signs of wear. To scrub, oil, sand, or not? These questions haunt all yacht owners who opted to invest in the durability and beauty of natural teak. But while you or your crew have done all you can, it’s time to call on professionals who can repair or replace the teak and bring it back to its former luster.
The tell-tale signs of wearing teak can include delamination or voids under the deck, cracked battens where the teak meets vertical surfaces, caulking shrinkage, oil spots, water infiltration, thinning of the surface, or just “tired” looking wood.
While looking for a professional to handle the job, Teakdecking Systems, a leader in teak deck fabrication and installation for over 40 years, recommends the following:
Consider This
- Know the reputation of the company you choose. A quick online search can show reviews, ratings, or input from fellow yacht owners. Learn from their experience!
- Know the quality of the materials the company uses. Plantation, or fast-growing teak, does not have the tight rings of seasoned, long-term old-growth teak, which is stronger, less permeable, and longer-lasting than the cheaper alternative.
- Look at projects the company has done, and the workload currently scheduled. Your job could be put in a long queue, and your boat could be out of commission or charter for longer than expected.
- Choose a reputable yard and have the work done there so other projects can be scheduled simultaneously. Such cooperative work with various subcontractors will help you get your jobs done more efficiently.
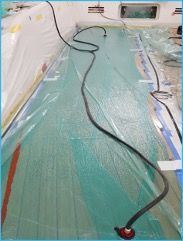
- Prepare the job properly: Ensure the area is clean, accessible, safe, and done in a water-tight environment. Water is the enemy when replacing a teak deck—another good reason to choose a yard with covered space.
- Important: Check to see if the company you choose has legal teak in their possession or if they are buying your teak when you place your order.

From The Professionals
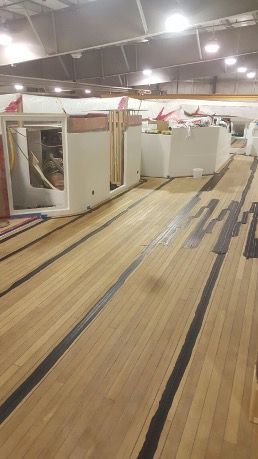
Teakdecking Systems’ recent work on a 68′ Sunseeker at Bradford Marine exemplified how to get the job done properly. Approximately 400 sqft, both lower and upper decks needed to be replaced due to water damage. The crew emphasized the importance of ensuring the integrity of the subdeck and preparing the area for work.
“Preparation is the most important part of the job,” says Sal Busacca, a 25-year TDS team member who is out in the field daily, supervising jobs and talking to clients—both repeat and new, educating them on the processes necessary to execute a successful installation or repair. Since people often ask about pricing, Busacca replied, “It all depends on the complexity of the project, what needs to be done and where it can be done, as well as conditions, and time frame. We have relationships with all the yards—they all know us, so that helps simplify a lot of situations,” he adds.
“It all depends on the complexity of the project, what needs to be done and where it can be done, as well as conditions, and time frame.”
Getting Started
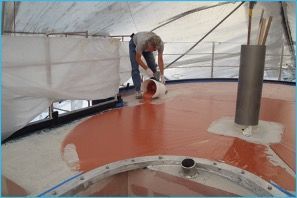
Like those at TDS, a good installation team is aware of the importance of preparing a fair, cleaned, and primed surface for the teak to be fastened to.
After the old teak deck has been removed, installers look for any problems, such as water intrusion, delamination, and corrosion on the vessel’s surface. If there is evidence of such, the areas need to be repaired. Once repaired, it may be necessary to have fairings installed to even the surface, so there are no low points for water to accumulate. This is often done on new and old boats, so the deck is perfectly even. On steel or aluminum vessels, the same process applies. Remember, metal needs to be primed before fairing.
Choosing the correct adhesive used during installation is one of the most important steps. TDS uses its flexible, proprietary two-part epoxy that ensures the adhesion of the subdeck and teak deck. The deck is then fastened using either a pressure bar or vacuum bag method. This step must be applied evenly so the adhesive can cure, and the teak can adequately adhere to the subdeck.
THE NITTY-GRITTY
Once the deck has been fastened to the vessel, it is time to caulk. TDS has even developed our own proprietary, UV, and chemical-resistant caulking. Because of these quality features, there is no need for priming, removing one step from the installation process, making TDS caulk a favorite for boat builders. We take great pride in showcasing its strength, durability, and flexibility on every installation.
Ideally, a pneumatic gun should be used to press the caulk into the bottom of the seams. Each seam is then spooned or tooled with a putty knife. After 5-7 days of curing, the deck is then ready to be sanded. It is important to note that the curing time is doubled with the newly popular white or gray caulking, as is the maintenance. First, the entire deck should be sanded with 36 grit to remove excess caulking, followed by 60 and 80 grit to enhance the look of your new deck.
Caulket Teak Deck
Final Take
Over the years, TDS has installed tens of thousands of teak decks, custom teak logos and patterns, such as the compass rose aboard large private yachts, super yachts and smaller custom and production boats like Scout, Cigarette, and Chris Craft. All of Teakdecking Systems’ work and materials are warrantied for one year but will last for many more!
When it is time for a new or refurbished teak deck, call the experts at Teakdecking Systems first—or last. An educated decision will be an easy one.

ALL PRODUCTS