What to expect from TDS when you order a deck

What to expect from TDS when you order a deck


Once you have decided to order your new deck from us, we have a process in place to ensure that the whole manufacturing and installation goes as smoothly as possible. With a commitment to transparency and customer satisfaction, we have put together some guidelines outlining the most important key steps from the moment that you commit to a new deck from us. 


1. Customer Inquiry, Quotation Process and Formal Quote

When we are first contacted by a customer, we ask that they send us photos and a layout of the boat via our contact page on our website so that we can understand their specific requirements. Our team then conducts its own research by reviewing the layout and photos provided, as well as gathering information about your boat. Based on this information, we develop a budgetary quote, and if the customer is satisfied with it, we provide a formal quote.


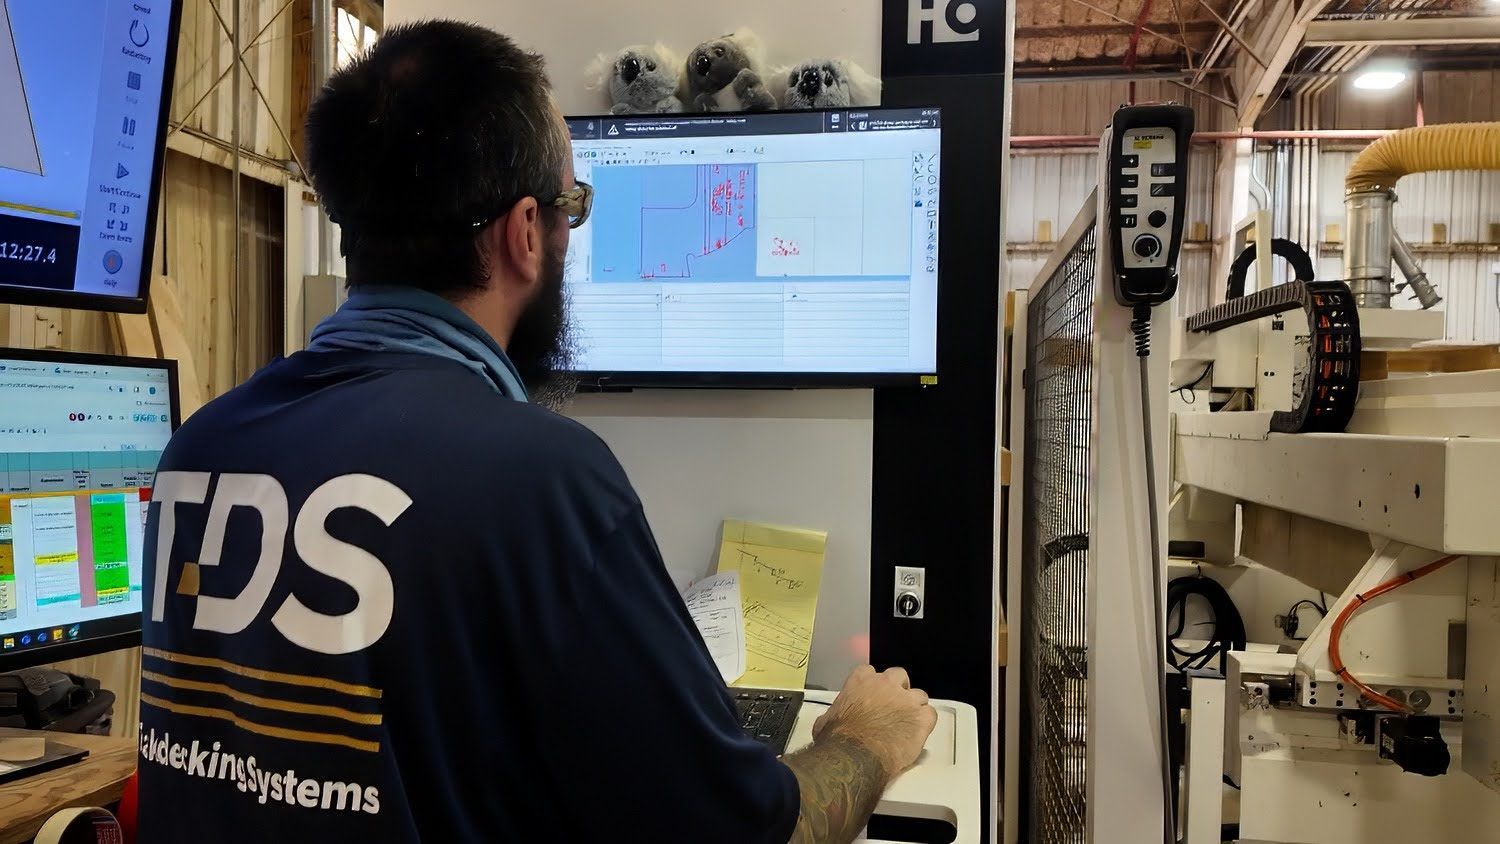
The formal quote outlines all the essential details, including design specifications, materials, price and timelines. It is crucial that you read through this document carefully. Taking the time to review it not only helps you understand what to expect but also gives you an opportunity to ask questions or clarify any uncertainties before signing. Once the quote is acceepted, we issue a pro forma invoice for the templating/digitizing, after which we will organize a date to digitize the deck. Once we have the digital file, our sales and project management teams meet to review both the quote and the digitized layout to ensure that the quoted square footage is accurate. Should there be any discrepancies, we adjust the quote accordingly and will call you to explain the changes. 


2. Securing Your Order with a Deposit

After both parties agree on the final numbers, we send an order confirmation for your signature and will then send an invoice for 50% of the materials cost and the cost of digitization so that we can begin building the deck. Once the funds are received, we start production, later invoicing for the remaining 50%. Travel costs associated with the digitization are invoiced separately after the activity has concluded.


3. Project Management and Timeline Confirmation

We will assigns a dedicated Project Manager to your deck, and they will be your primary point of contact throughout the entire process. Your Project Manager is responsible for confirming the production and installation timeline and ensuring that every phase of the project is scheduled appropriately. They will communicate any updates, answer your questions, and address any concerns that may arise during production. 


4. Final Payment and Scheduling Shipment

Before the deck is shipped and installed, we require that the full remaining balance is settled and we can then schedule shipment and installation without any delays. 


5. Installation

You will have received an estimated quote for installation. Once the deck is installed we ask the captain or project manager to walk the deck with our team and get a sign off and release for the deck and then we invoice them for the final amount along with any associated travel, travel time, accommodation and subsistence. We will invoice you the final amount once the installation has been done.

ALL PRODUCTS

May 26, 2025
Can I touch up sunken caulk after it has been applied incorrectly? Yes, you can apply additional caulk over areas that have settled after the initial application. Best Practices for Re-Caulking: 1. For Older Installations: If the existing caulk has been in place for an extended period and has fully cured or “seasoned,” it is best to prepare the seam before applying more caulk. The recommended method is to cut a shallow “vee” (V-shaped groove) into the existing seam. This increases the surface area for better adhesion. After veeing the joint, thoroughly wipe the area with a clean rag soaked in acetone, then apply the new caulk. 2. For Newer Installations: If the caulk was applied recently (within a week or two), the surface is still fresh and may not require veeing. In this case, simply clean the area with acetone and apply additional caulk directly over the low or settled spots. General Reminder: Regardless of the age of the installation, always clean the surface with a rag soaked in acetone just before applying new caulk. This ensures a clean, contaminant-free bonding surface and helps the new caulk adhere properly.
April 28, 2025
How To remove old caulking from your deck and & Re-Caulk your Seams
By Anella Alcott April 11, 2025
If you're planning to get a new deck on your boat, and you've chosen teak, a composite deck, or a cork alternative, this guide will walk you through the full process, from digitization and manufacturing to final installation so you’ll know exactly what to expect from start to finish. TEAK DECKS Digital Templating The first stage involves one of our technicians digitially templating the area using the latest in precise measuring technology. Our team digititally templates vessels all around the world. Engineering Our experienced designers are masters of creating beautiful and technically precise decks using CAD construction program, importing data provided by our digital templating team. Our designers’ exceptional ability to create visual symmetry ensures impeccable finishes and beautiful aesthetic decks. Manufacturing TDS panels are manufactured in our factory utilizing jigs that are adjusted to conform to the vessel’s shape. Teak planks of the required thickness and width are carefully hand inspected, scrutinizing each plank for grain orientation, mineral deposits, or imperfections such as a small knot. The planks are placed into the jig in such a way that the finished deck will have a uniform butt joint pattern. Creating a Watertight Barrier A phenolic or fiberglass backing is securely vacuum bonded to the teak, using our own epoxies that guarantee durability, flexibility, strength and reliability. The exceptional bonding strength, ensures your deck stands the test of time. After the epoxy cures, the newly formed panels are removed from the jig, and the seams between the planks undergo routing, cleaning, and caulking. Margin Trim Once the caulking is cured, the final step involves laying out the teak deck and laying all the margin trim. Upon completion, the finished deck undergoes a thorough quality inspection, ensuring it aligns precisely with the template. Transport & Installation The finished deck panels are placed in custom-made crates and then shipped and installed worldwide. Prior to the arrival of the new deck, the old deck is removed. Our installers inspect for any issues such as water intrusion, delamination, or corrosion on the vessel’s surface. If such issues are found, the areas are repaired before the new deck is installed. Caulking & Sanding Once the deck has been bonded to the vessel, it is time to caulk using our own proprietary, UV, and chemical-resistant caulking TDS SIS-440. After curing, the deck is then ready to be sanded. The entire deck is sanded with 36 grit to remove excess caulking, followed by 60 and 80 grit to enhance the look of the deck. COMPOSITE DECKS Digital Templating The first stage involves one of our technicians digitially templating the area using the latest in precise measuring technology. Our team digititally templates vessels all around the world. Engineering Our experienced designers are masters of creating beautiful and technically precise decks using CAD construction program, importing data provided by our digital templating team. Our designers’ exceptional ability to create visual symmetry ensures impeccable finishes and beautiful aesthetic decks. Manufacturing Every composite decking panel is custom made to perfectly fit the areas to be covered. The panels are delivered with completed seam pattern, sanded and ready to be glued down on most structural surfaces. In the case of SeaSole, the deck is installed using the “peel and stick system”. We use a combination of our TDS bedding and bonding adhesive, along with TDS two-part, flexible epoxy fitting glue, to secure the panels in place. The caulking in the seams is our TDS proprietary patented filler, an enduringly elastic, solid rubber polyurethane joint sealant. Our team will first carry out an inspection of the boat to identify the best application method for each area. Quality Control Once the caulking is cured, the final step involves laying out the composite deck and building all the margin trim. Upon completion, the finished deck undergoes a thorough quality inspection, ensuring it aligns precisely with the original template. Installation The finished deck panels are placed in custom-made crates and then shipped and installed worldwide. Prior to the arrival of the new deck, the old deck is removed. Our installers inspect for any issues such as water intrusion, delamination, or corrosion on the vessel’s surface. If such issues are found, the areas are repaired before the new deck is installed. C ORK DECKS Digital Templating The first stage involves one of our technicians digitially templating the area using the latest in precise measuring technology. Our team digititally templates vessels all around the world. Engineering Our experienced designers are masters of creating beautiful and technically precise decks using CAD construction program, importing data provided by our digitizing team. Our designers’ exceptional ability to create visual symmetry ensures impeccable finishes and beautiful aesthetic decks. Manufacturing Every cork decking panel is custom made to perfectly fit the areas to be covered. The panels are delivered with completed seam pattern, and ready to be glued down on most structural surfaces. Our team will first carry out an inspection of the boat to identify the best application method for each area. Creating a Watertight Barrier After the adhesive cures, the seams between the planks undergo routing, cleaning, and caulking. Installation The finished deck panels are placed in custom-made crates and then shipped and installed worldwide. Prior to the arrival of the new deck, the old deck is removed. Our installers inspect for any issues such as water intrusion, delamination, or corrosion on the vessel’s surface. If such issues are found, the areas are repaired before the new deck is installed. We use a combination of our TDS bedding and bonding adhesive, along with TDS two-part, flexible epoxy fitting glue, to secure the panels in place.
ALL ARTICLES