How to use FFE-200 Marine Epoxy for Fairing
Teakdecking Systems’ FFE-200 Marine Epoxy is well-known for securely bonding modular teak decking systems to large and small vessels. The product’s secondary purpose – fairing – is a secret worth discovering. This article shows how to use FFE-200 Marine Epoxy for fairing.
Generally, an epoxy adhesive and an epoxy fairing compound should not be found in the same pair of plastic tubs. Epoxy adhesives typically cure to a very hard surface, while fairing compounds are much softer (to create a surface that is easy to fair with sanding). The fillers used in fairing compounds reduce the epoxy’s adhesive strength, normally making the compound unsuitable as an adhesive.
However, Teakdecking Systems developed a unique and proprietary formulation product that blends the two functions of bonding and fairing.
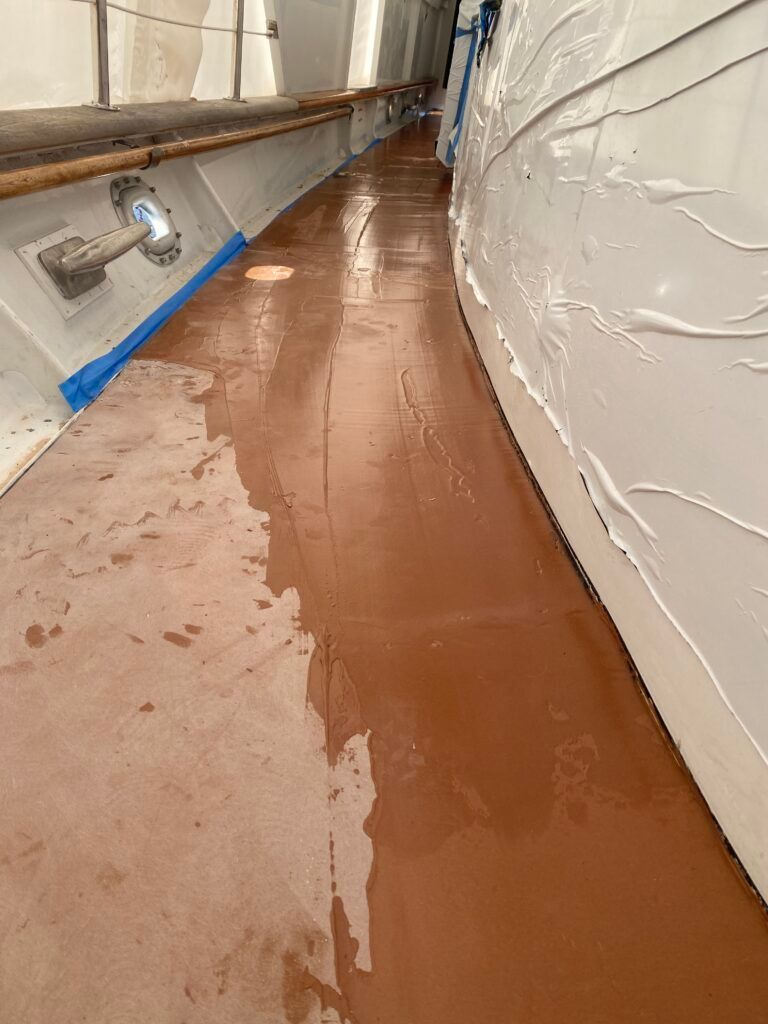
FFE-200 Fitting & Fairing Compound on a yacht
NOTE: FFE-200 is now a brownish color, due to customers’ requests.
Tips from a local Sarasota sailor who has faired a lot of large and small surfaces:
- The simple 1:1 mix ratio is accurate and fast compared to a full kit (base + hardener) of a commercial fairing compound or resin system because of its unequal mix ratio.
- FFE-200 can be spread easily over large surfaces during deck installations used as a leveling compound to fair the structural deck before teak deck installation. The ‘out of the can’ consistency is perfect for filling pinholes and slight depressions on surfaces.
- The FFE-200 Base Resin and Activator are degassed well by TDS, so there is no entrapped air in the cured compound when thoroughly* mixed. Few pinholes appear as the surface is sanded. Painters appreciate pinhole-free faired surfaces.
*Fun Fact about Mixing – When mixing polyester resin and its catalyst MEKP (methyl ethyl ketone peroxide), the catalyst starts a chain reaction within the resin, like the match that starts the fire. However, when mixing epoxies, Activator molecules are linked with the Base Resin molecules. For effective results, thoroughly mix the Base Resin with the Activator, so they link up. During mixing, be sure to scrape the sides and bottom of the mixing container to avoid leaving un-mixed components around the edges.
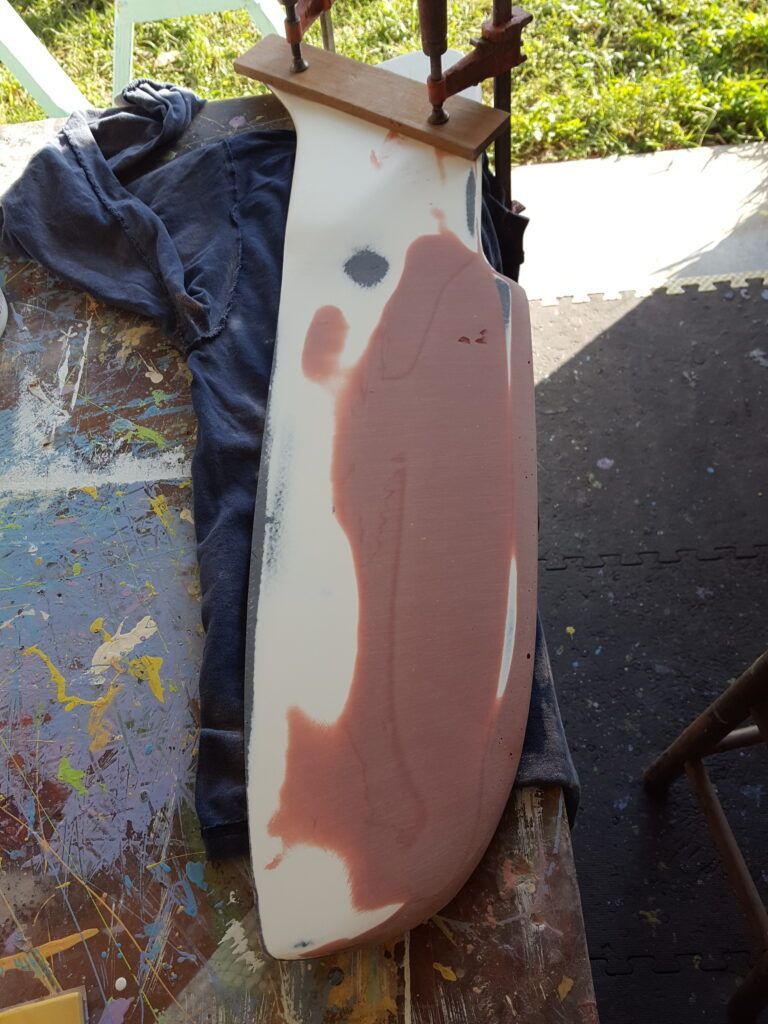
To illustrate how FFE-200 can work for vessels big and small, a recently completed project is a rudder for a small performance sailboat.
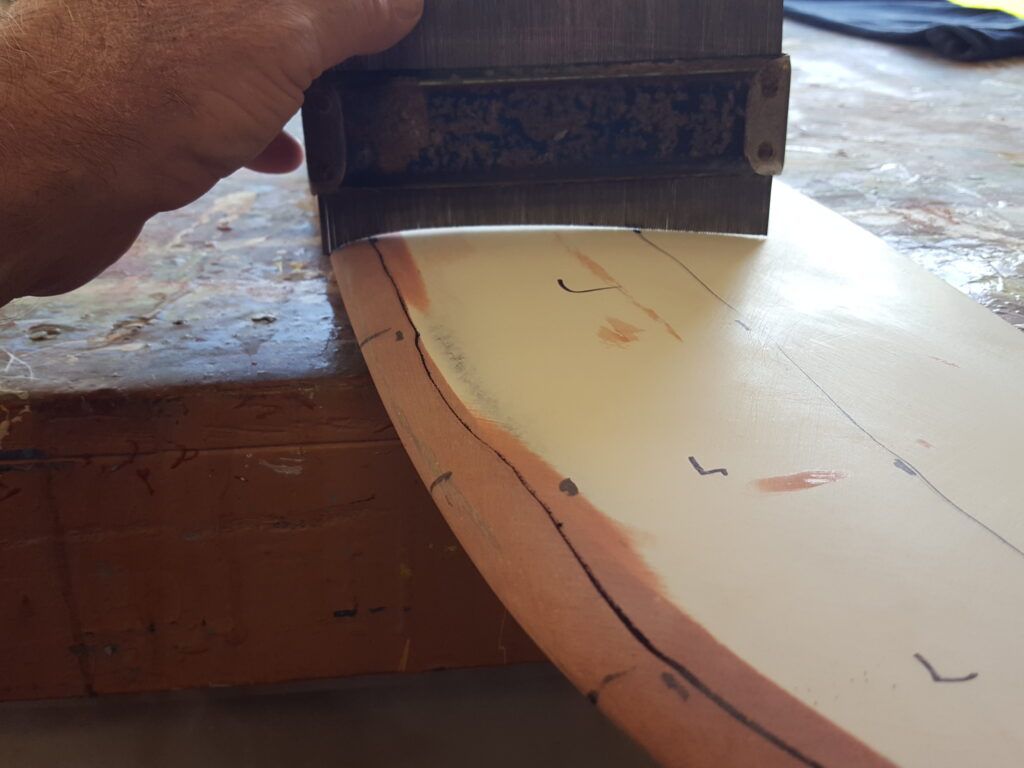
The rudder has two issues – the leading edge was too blunt, and the two sides were not symmetrical, causing the boat to pull to one side. Here, the leading edge has already been corrected with FFE-200 over a core of glass strands. The curve on the contour gauge is the shape of the other side of the rudder. For a small rudder, that gap between the contour gauge and the surface represents a lot of side-to-side difference.
To fill that gap, plus a bit more for fairing, FFE-200 was used.
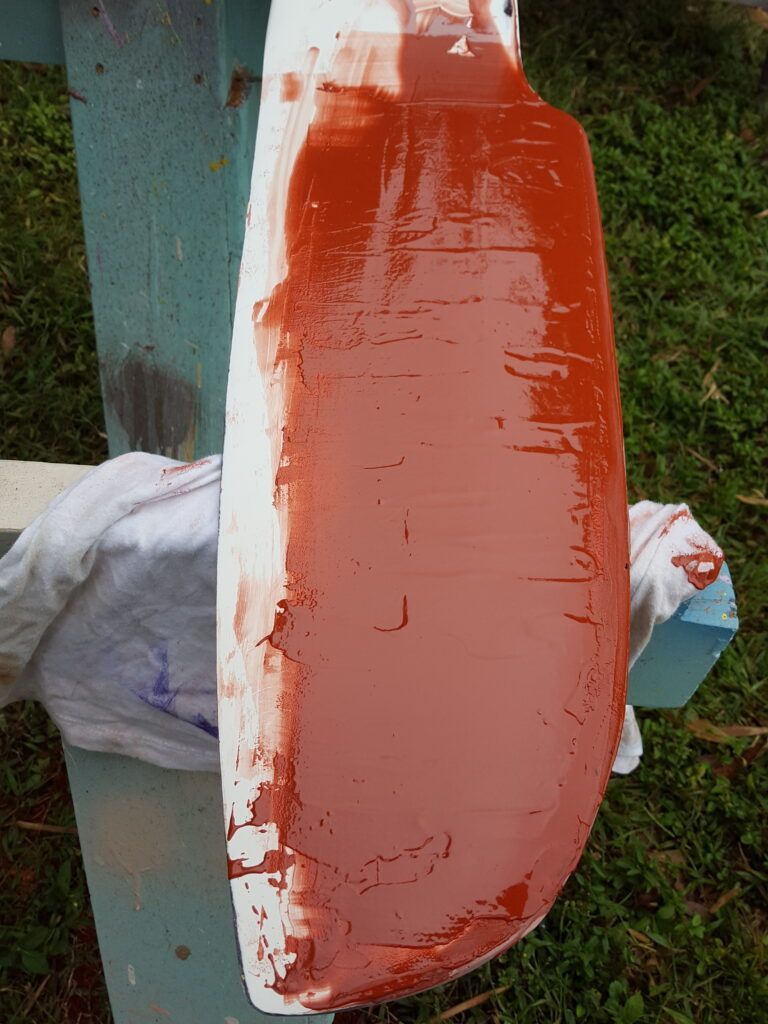
The rudder was cross-sanded up through the grits with a 9” sanding block. The sanding block or longboard size should be proportional to the size and shape of the faired surface – bigger is better, but harder to handle.
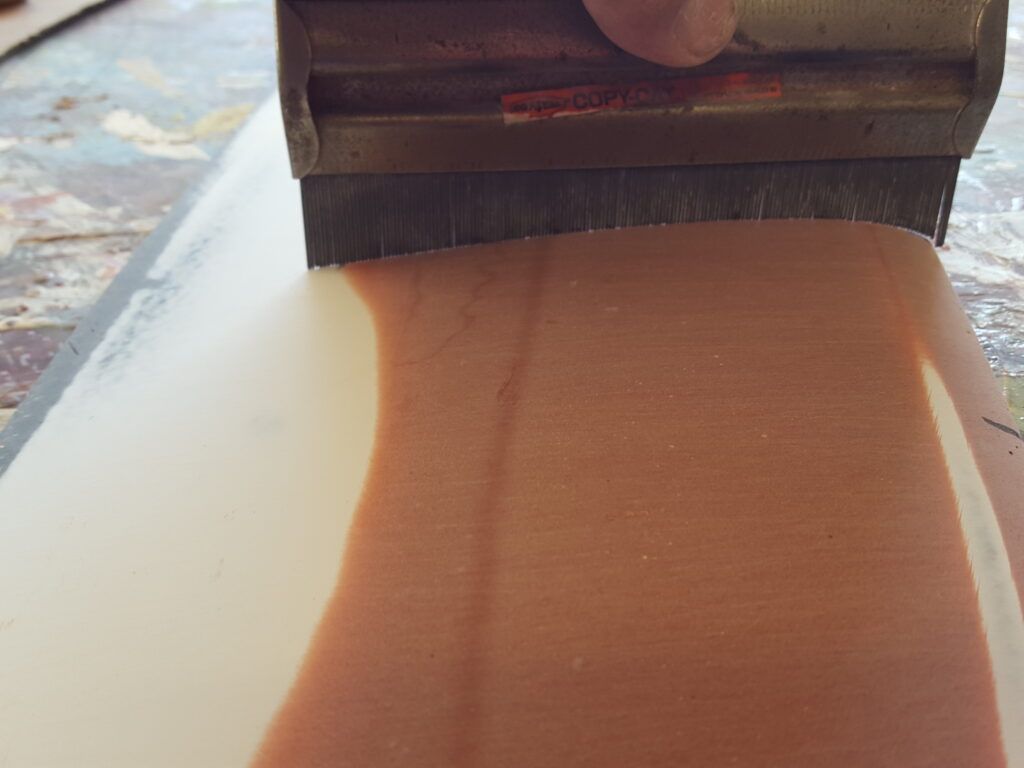
The contour gauge in the next photo shows that the port and starboard sides of the rudder now match.
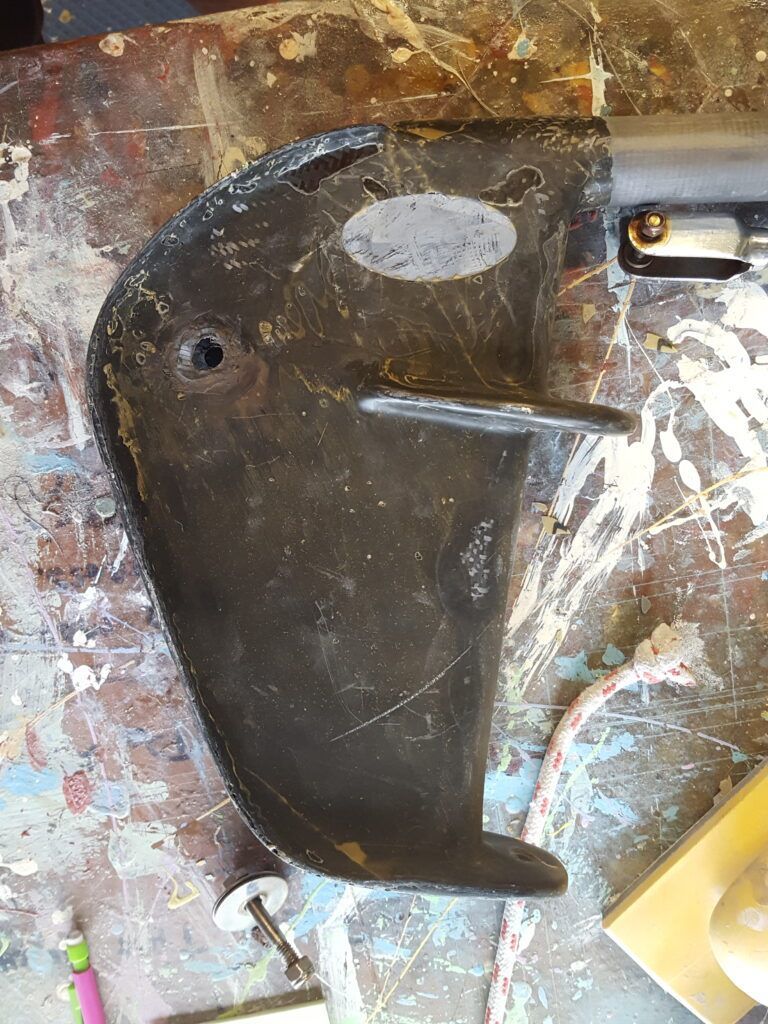
A pretty rudder blade meant the housing needed attention too. Here it is before starting:
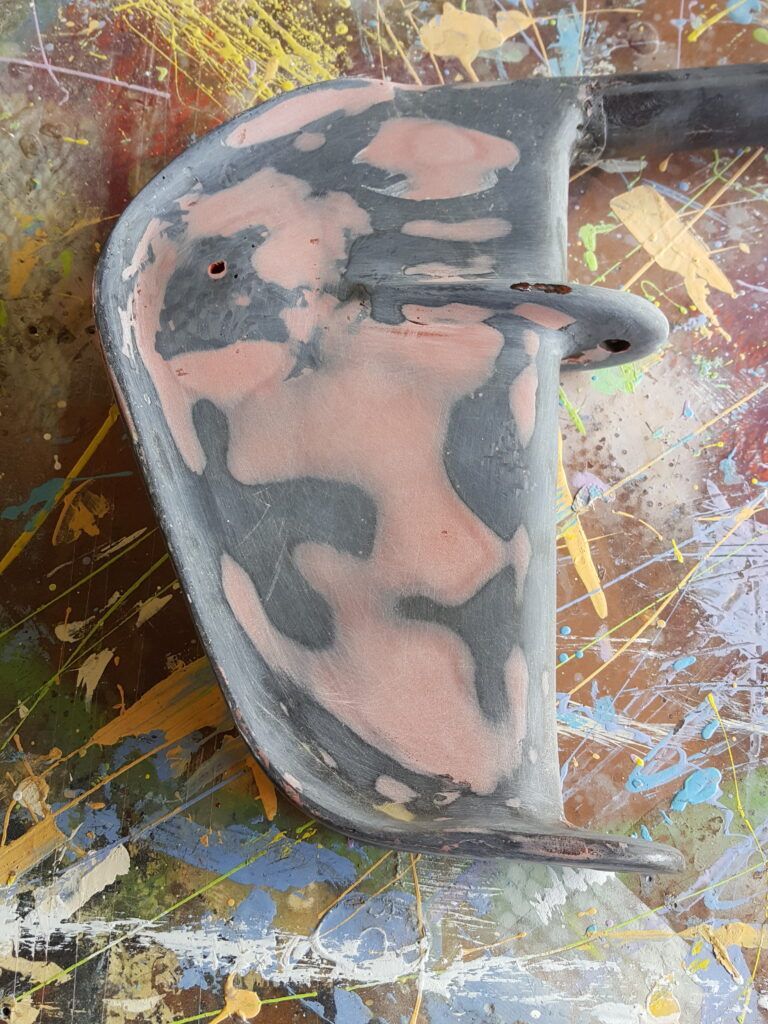
After fairing:
Ready for the topcoat after the final sanding of the high-build primer:

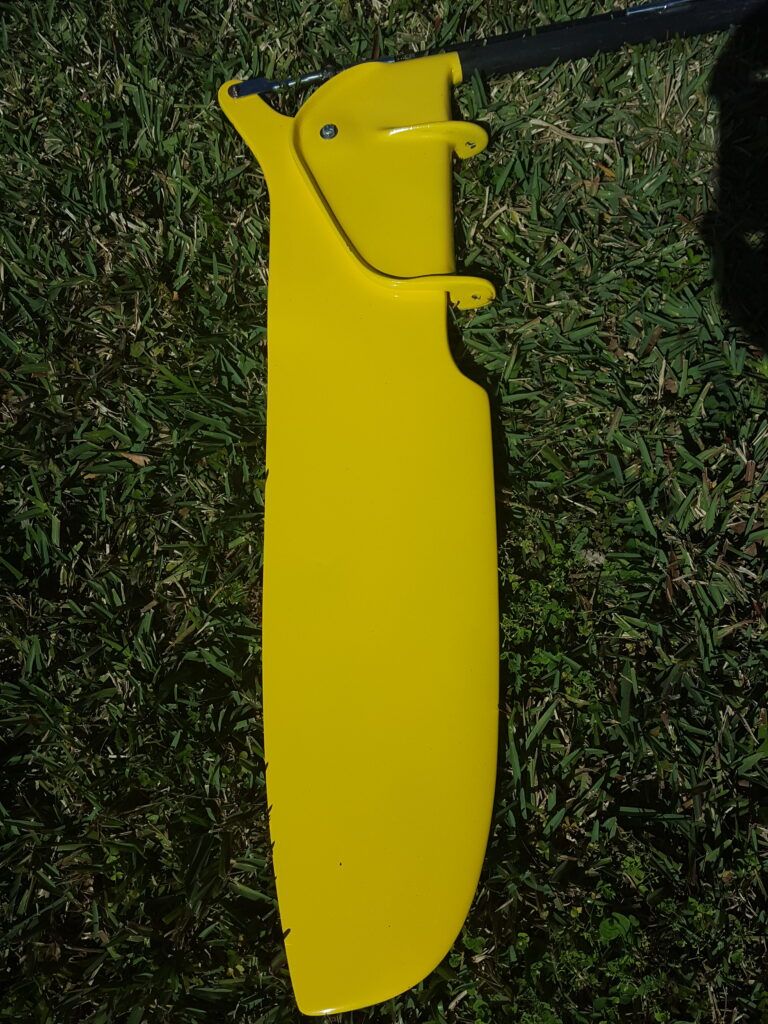
The finished product is ready to go sailing…!
The results are fantastic, and we thank our customer for sharing these photos of using FFE-200 Marine Epoxy for fairing.
For questions about FFE-200…
Visit our website for more product information.
Or call our experts: 941-756-0600 and press “1”
ALL PRODUCTS